


Local News
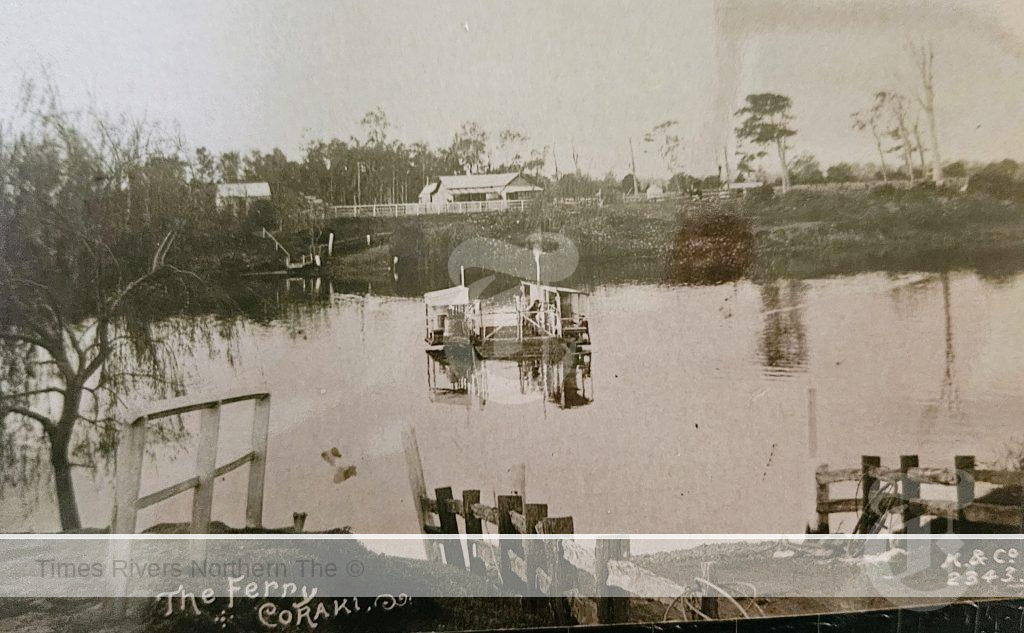
CORAKI FERRY


CORAKI FERRY
By Helen Trustum
From about the time of 1849 when a permanent settlement was established at Coraki and William Yabsley was able to obtain the lease of Brook Station and with the passing of the Robertson Land Act in 1861, many new settlers arrived. A plan to build a “Village of Coraki” was made in 1866. From then on, the settlement began to grow and a public ferry crossing was needed.
A new ferry for this service was built by William Yabsley Jnr. and launched by him in August 1879. This service operated from a point in the river near the Police Station. Local Member, Mr Robert Pyers received many requests for a bridge over the South Arm.
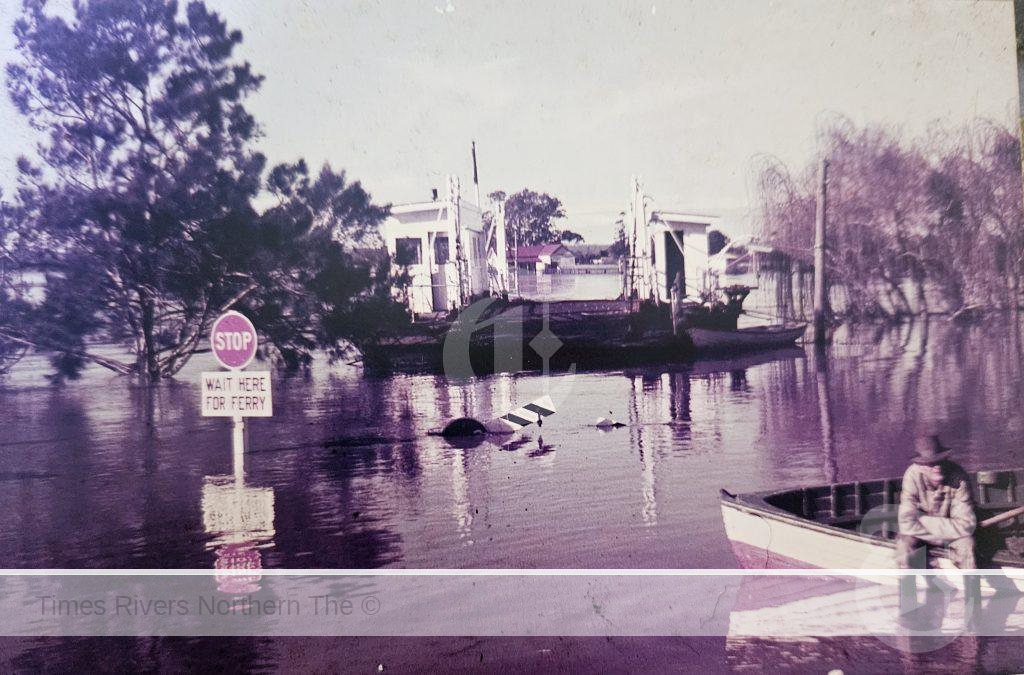
Ferryman, Andy Arthurson during 1965 Flood
In 1891 “Scrubby” Nolan obtained the lease to operate the ferry for 10 pounds, the next year it went to Patrick Gillick for 53 pounds then in later years J. Hutchinson paid 93 pounds. However, there were many complaints about the service. The early ferries had no gates or side rails. There were problems with the ferry approaches as they were steep and slippery in wet weather.
By the 1880’s both Yabsley and Yeager had established successful shipping enterprises and Coraki was a busy inland port. There was obviously a huge increase in the use of a ferry.
On 10th February 1897 it was noted in John McKinnons diary that Council decided to take over another ferry at Coraki to be established at the foot of Adam Street.
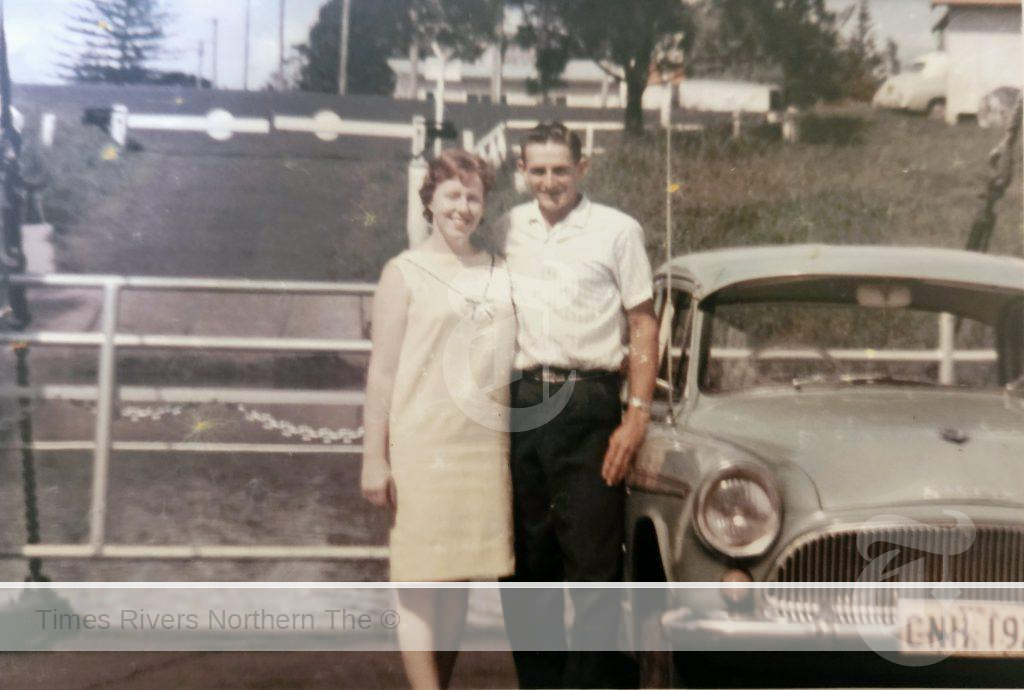
Allan Trustum and Helen Maxwell crossing the Coraki Ferry in 1965
Public Works annual report 1898 – 1899 recorded that a new hand ferry was built at Adam Street.
During 1904 the Government announced that it would endeavour to convert all ferries to steam, but this was not accomplished in Coraki until September 1910 when a steam ferry built in Ballina went into operation.
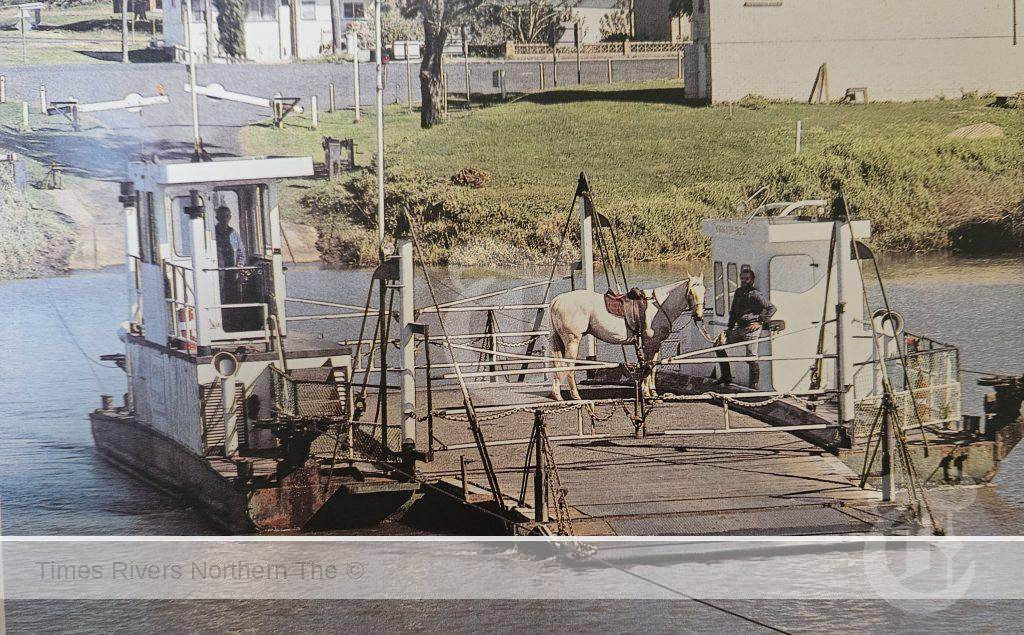
Allan Clark with his horse crossing the Coraki Ferry
Responsibility for roads, bridges and ferries was in the hands of the Department of Public Works from the late 1850’s. In 1925 the Main Roads Board assumed responsibility. This became the Department of Main Roads in 1932 and in 1989 the Roads and Traffic Authority.
Glebe Bridge over the South Arm of the Richmond River was built with the first pile driven in 1904. The bridge was always referred to as the Pyers Bridge, as Robert Pyers officially opened the South Arm Bridge on 4th May 1905 at a cost of 9,500 pounds.
Water hyacinth was always a menace in the river where a flood was the only effective way of getting rid of it.
Coraki Ferry
The Arthurson Family deserve recognition in the Coraki Ferry story. Men from the Arthurson family have a special record, for at one stage, three brothers manned Richmond River Ferries. Jack was on Burns Point, Angus (Spark) on Woodburn and Andy on Coraki. These men had previously worked on river boats, as their father before them. “Spark” was on the small relief ferry when it sank in the February 1951 flood at Woodburn. Sadly, “Spark” himself was drowned on 20th June 1960, when his car plunged off the Coraki Ferry into the Richmond River.
A grand occasion was held for the opening of the $1.6 million bridge on 23rd May 1990. The bridge was officially opened by the Minister for National Resources Mr Ian Causley, while Coraki Councillor, Mr Ken Thomas shared cutting the ribbon. Over 5,000 people were in attendance on this special day in Coraki to witness the opening of the bridge after 92 years of ferry service.
Warren Robinson one of the last operators of the Coraki Ferry. He was part of a team of five men operating the ferry service for the last 10 years leading up to the ferry ceasing operation. Before Coraki, Warren worked at Woodburn until it was replaced by a bridge in 1982. The Coraki Ferry was shipped to Ulmarra on the Clarence, for the Ulmarra run.
Memories:
Ray Hunt: I have crossed all the ferries on the South and North Arm of the Richmond Riveras it was named. From Tuckurimba where I live, I crossed the Broadwater Ferry for 41 years. I retired in 1998 and a bridge was built the following year. Nearly call that bad luck. The ferrymen over the years were a fine bunch of men either day or night. It always paid to be good friends, or they would leave you waiting on the bank.
Men, Ray Hunt recall’s: Ollie Ryan – Coraki, Spark and Andy Arthurson- Coraki, Bill Tarplee- Coraki, Warren Robinson- Coraki, Jim Haynes – Woodburn, John Gallagher- Woodburn, Col Sauer- Broadwater, Jim Trellfo- Wardell.
Robert Maxwell: I remember the time when a certain resident came to the ferry on his way home from a night in Coraki. After entering the ferry, he went off to sleep and the ferry man could not wake him. This caused a problem, so he was left in the car on the ferry where he went back and forwards across the river till daylight.
Ferryman at Coraki: Courtesy of booklet “Ferry to Bridge, Crossing the Richmond River at Coraki”.
The First Ferry, William Tunstall, W. Watt, John McVicar, Nelson, Charles Sharpe. Bloom, Gillespie, “Scrubby” Nolan, Patrick Gillick, N. Manlow, J. Hutchinson, P. Roche and J. Hile.
Adam Street Ferry – Paddy Roche, Joe Nix, Jack Day, Ted Sheather, Mr Fairhall, “Dad” Roberts, Ted Coombes, Dave Williams, P. B. O’Conner, H. Louis, J. Mc Intyre, C.J. Cavanaugh, T. Andrews, Murray, C.S. Smith,
C.A Gillum, D.S. Rosman, P. Orchard, A.V. Bottrell, Max Saxon, J. Evans, Andy Arthurson, Spark Arthurson, Sandy Davis, Foggy Richards, C. Gilbert, Neil Wallace, F. Webber, H.L. Morton, W. Greber.
J. R. McFadden, A.J. Winslade, W. Tarplee, Reg Black, Lyndon Everingham, Stan Everingham, J. Nighingdale, M. Chaffy, Ollie Ryan, Jim Haynes, Colin Sauer, M. Milligan, W. Robinson, J. Gollan, A. Wilkes.
Ref: Ferry to Bridge – Crossing the Richmond River at Coraki, published by the Mid Richmond Historical Society: Northern Star.
For more rural news, click here.


Kylie Maunder – Richmond Valley meet your candidates
Muval migration data for the first six months of 2024

Stake your career on the meat industry

A year of firsts for new children’s author

Celebrating our young sportspeople

Mix of new and old faces on Northern Rivers councils

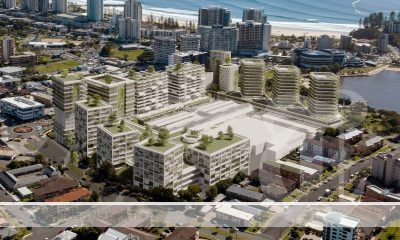
A NEW TWEED HEADS

Toyota Supra: Get Ready For A Fully Electric Version In 2025

Northern Rivers Local Health District COVID-19 update

Northern Rivers COVID-19 update

Fears proposed residential tower will ‘obliterate’ Tweed neighbourhood’s amenity and charm

COVID-19 Vaccination Clinic now open at Lismore Square
Muval migration data for the first six months of 2024
Muval migration data for the first six months of 2024 According to national online removalist booking platform Muval, which has...
Call for more mates to support Port Macquarie’s Sailability
Call for more mates to support Port Macquarie’s Sailability Vision available: https://tinyurl.com/mrz9nhz7 The Port Macquarie community group, Sailability, is calling...
Teen charged with multiple property offences in Cowra – Operation Regional Mongoose
Teen charged with multiple property offences in Cowra – Operation Regional Mongoose Tuesday, 24 September 2024 02:01:49 PM A teen...
-
 Tweed Shire News2 years ago
A NEW TWEED HEADS
-
 Motoring News2 years ago
Toyota Supra: Get Ready For A Fully Electric Version In 2025
-
 COVID-19 Northern Rivers News3 years ago
Northern Rivers Local Health District COVID-19 update
-
 COVID-19 Northern Rivers News3 years ago
Northern Rivers COVID-19 update
-
 Northern Rivers Local News3 years ago
Fears proposed residential tower will ‘obliterate’ Tweed neighbourhood’s amenity and charm
-
 Health News3 years ago
COVID-19 Vaccination Clinic now open at Lismore Square
-

 COVID-19 Northern Rivers News3 years ago
Lismore Family Medical Practice employee close contact
-
 NSW Breaking News3 years ago
Vale: Former NSW prison boss Ron Woodham