


Gardening
The Beauty and Heritage of Italian Renaissance Gardens

The Beauty and Heritage of Italian Renaissance Gardens
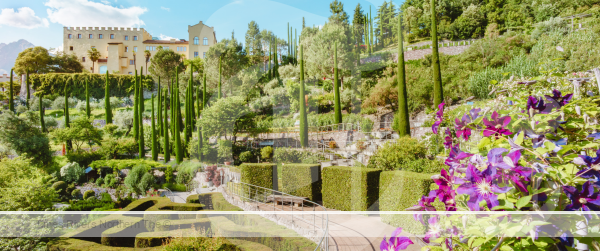
In the heart of Europe, during a period marked by profound intellectual, cultural, and artistic awakening, the Italian Renaissance Gardens came into being. Synonymous with grandeur, symmetry, and intricate detailing, these gardens stand as a testament to a time when art, philosophy, and nature converged. While geographically distant, the ethos of Italian Renaissance design resonates deeply with Australian garden enthusiasts. Let’s journey through the history, beauty, and features of these remarkable gardens.
History of the Italian Renaissance Gardens
The Renaissance period, spanning roughly the 14th to the 17th century, was a rebirth of classical ideals from ancient Greece and Rome. Amidst this backdrop, gardens transformed from being just functional spaces to symbolic landscapes designed for contemplation, pleasure, and display.
These gardens were more than mere outdoor spaces; they were an expression of the zeitgeist. The wealthy patrons and scholars of Italy, inspired by classical literature and art, saw gardens as a reflection of man’s relationship with nature and an embodiment of human potential.
The Allure of Beauty
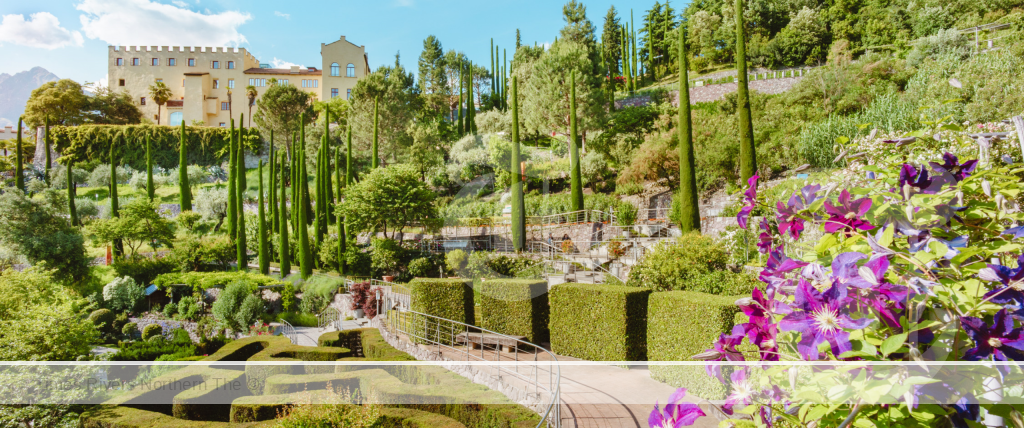
Italian Renaissance Gardens are not just about ornate sculptures or expansive layouts; they’re about capturing the human essence in a natural setting. The mingling of art, architecture, and horticulture creates an environment that evokes emotions, promotes contemplation, and embodies balance.
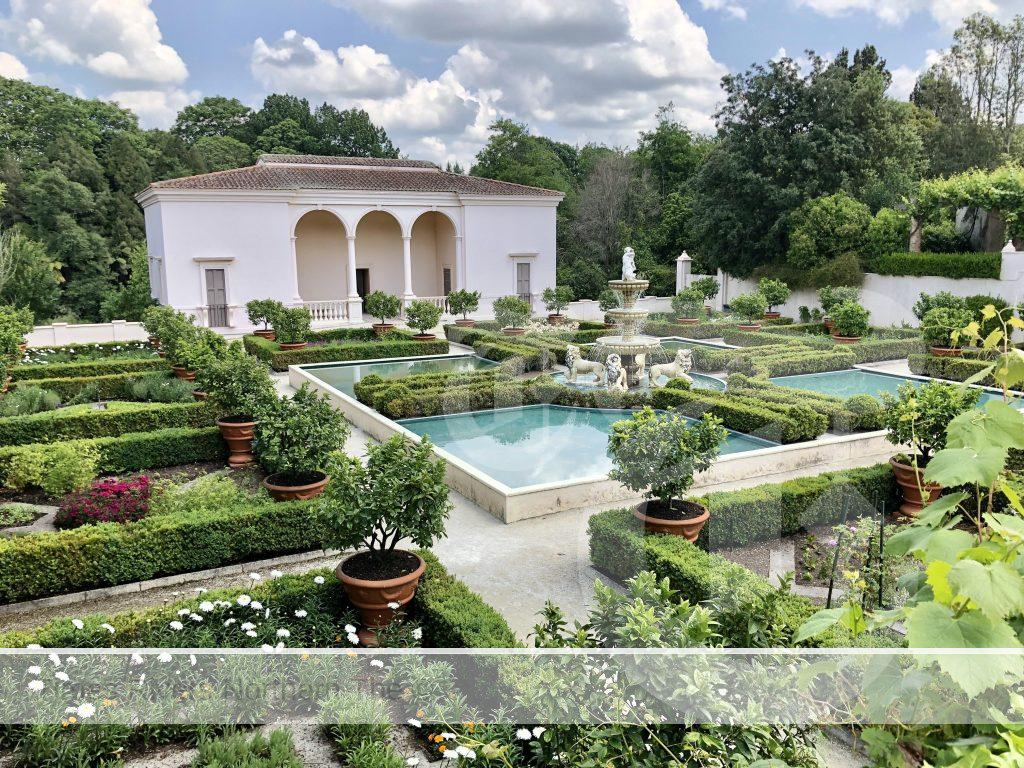
- Water Features: Renaissance gardens often showcased water in various forms – fountains adorned with classical sculptures, cascades, rills, and reflective pools. Water was not just an aesthetic element; it symbolised life and purity.
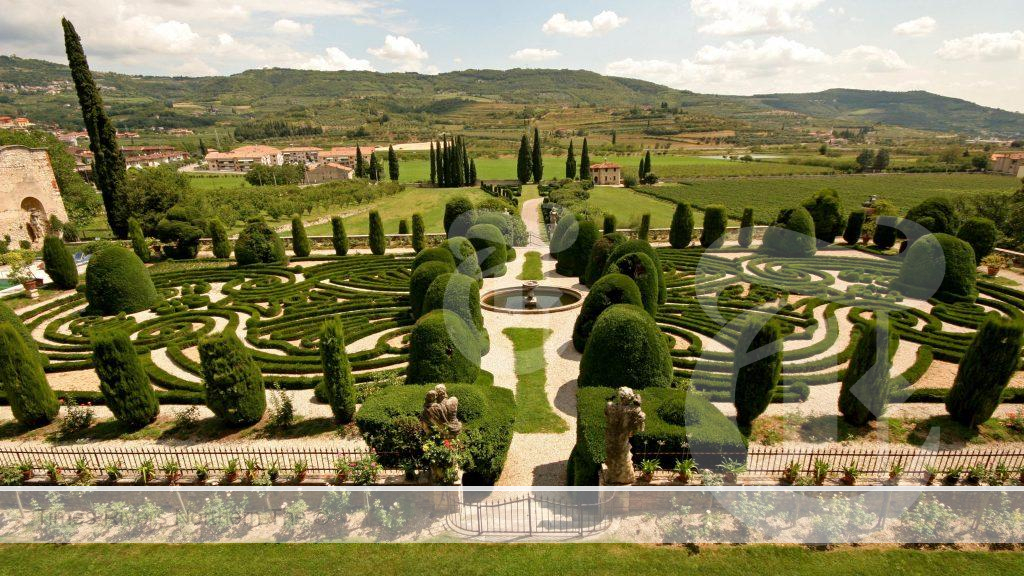
- Geometry and Symmetry: Central to these gardens was the principle of order. Geometrically laid out flowerbeds, tree-lined avenues, and symmetrically arranged pathways provided structure and balance.
- Statuary and Stonework: Borrowing heavily from Greco-Roman motifs, statues of gods, goddesses, and mythological figures found prominent places in these gardens. They added narrative, drama, and an element of surprise.
- Terraces and Views: Italian gardens, often located in hilly regions, employed terracing to stunning effect. These terraces, besides being functional, provided vantage points, framing beautiful views of the surrounding landscape.
Connection with Australia
While Italy and Australia are continents apart, the design principles of the Italian Renaissance have found resonance down under. Here’s why:
- Versatility: The structured layout of these gardens, with their emphasis on symmetry and order, can be adapted to various sizes — from expansive public gardens to intimate backyard spaces.
- Cultural Appreciation: Australia, with its rich tapestry of cultures, has always been open to global influences. The historical and artistic depth of Renaissance gardens strikes a chord with those who appreciate classical aesthetics.
- Climate Adaptability: While Australia’s climate varies from Italy’s, the design elements, such as terracing and water features, can be incorporated effectively, albeit with plant species suited to local conditions.
For Australians, recreating the feel of an Italian Renaissance Garden isn’t about replication. It’s about adapting the essence and principles to the unique Australian context, climate, and landscape.
Embracing the Renaissance Spirit in Australia
Several gardens across Australia exhibit influences of the Italian Renaissance. Places like the “Everglades Historic House and Gardens” in Leura showcase terraced gardens, reminiscent of Italian designs. However, many Australian homeowners also draw inspiration from Renaissance principles to shape their private oases, using native plants and local materials.
To truly capture the Renaissance spirit:
- Study the Classics: Understand the symbolism and thought behind the original gardens. Incorporate elements that resonate with your personal aesthetic.
- Embrace Symmetry: Whether you have a sprawling space or a compact garden, symmetry can lend it an ordered, serene look.
- Localise the Concept: Use native Australian plants but maintain the geometric layouts, water features, and statuary to echo the Renaissance vibe.
Italian Renaissance Gardens, with their blend of nature, art, and architecture, are timeless. They stand as reminders of an era when humanity sought to find its reflection in the landscapes it created. For Australians, these gardens are more than just a design inspiration; they represent a confluence of history, culture, and nature. By understanding and adapting their essence, we can create spaces that are not just visually stunning but also steeped in meaning and context.
For more gardening news, click here.


The Northern Rivers Times Newspaper Edition 224

Council decides not to appeal Iron Gates ruling
Growers demand commitment on power prices and insurance

Temporary Road Closures Byron St and Ross St, Lennox Head

Labor’s vaping prohibition is resulting in more crime
Unlawful Merchant Fees Charged to Customers

A NEW TWEED HEADS

Toyota Supra: Get Ready For A Fully Electric Version In 2025

Northern Rivers Local Health District COVID-19 update

Northern Rivers COVID-19 update

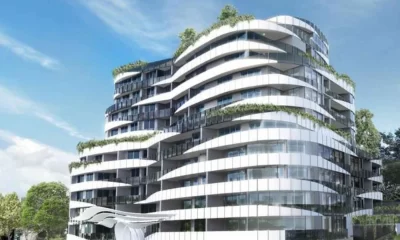
Fears proposed residential tower will ‘obliterate’ Tweed neighbourhood’s amenity and charm

COVID-19 Vaccination Clinic now open at Lismore Square

Muval migration data for the first six months of 2024
Muval migration data for the first six months of 2024 According to national online removalist booking platform Muval, which has...
Call for more mates to support Port Macquarie’s Sailability
Call for more mates to support Port Macquarie’s Sailability Vision available: https://tinyurl.com/mrz9nhz7 The Port Macquarie community group, Sailability, is calling...
Teen charged with multiple property offences in Cowra – Operation Regional Mongoose
Teen charged with multiple property offences in Cowra – Operation Regional Mongoose Tuesday, 24 September 2024 02:01:49 PM A teen...
-
 Tweed Shire News2 years ago
A NEW TWEED HEADS
-
 Motoring News2 years ago
Toyota Supra: Get Ready For A Fully Electric Version In 2025
-
 COVID-19 Northern Rivers News3 years ago
Northern Rivers Local Health District COVID-19 update
-
 COVID-19 Northern Rivers News3 years ago
Northern Rivers COVID-19 update
-
 Northern Rivers Local News3 years ago
Fears proposed residential tower will ‘obliterate’ Tweed neighbourhood’s amenity and charm
-
 Health News3 years ago
COVID-19 Vaccination Clinic now open at Lismore Square
-

 COVID-19 Northern Rivers News3 years ago
Lismore Family Medical Practice employee close contact
-

 NSW Breaking News3 years ago
Vale: Former NSW prison boss Ron Woodham