


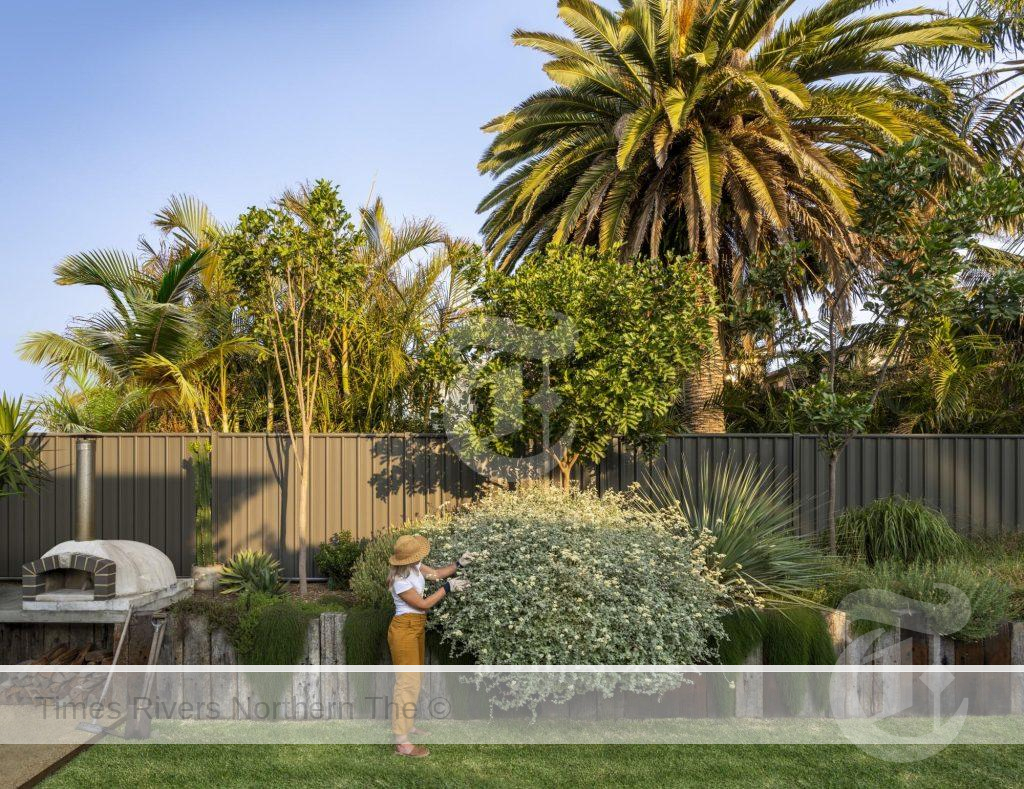
Gardening
How to make a temporary pool look good
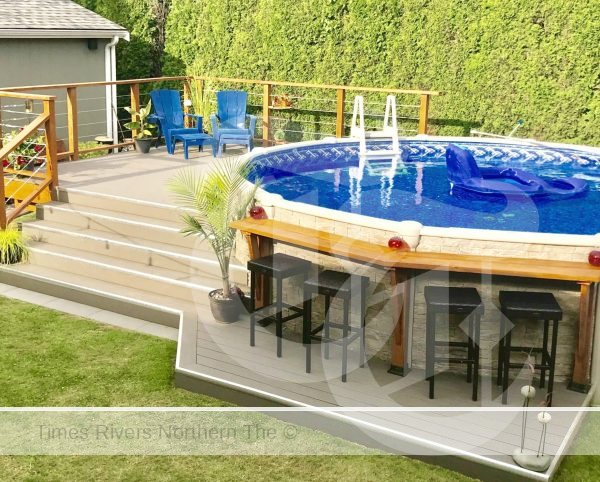

How to make a temporary pool look good
Making a temporary pool look good is not just about enhancing its aesthetic appeal; it’s about creating a fun, inviting, and comfortable outdoor space that maximises your enjoyment during those warm months. Whether it’s an inflatable pool, a frame pool, or any other type of above-ground pool, there are numerous creative and practical ways to transform it into a beautiful oasis. Here’s a comprehensive guide on how to achieve that.
- Positioning Your Pool
The first step in making your temporary pool look good is choosing the right location. Select a spot that gets a good balance of sun and shade throughout the day. This ensures the water stays at a comfortable temperature and also protects swimmers from excessive sun exposure. Additionally, placing your pool on a flat, stable surface away from trees and shrubs minimises debris falling into the water and makes maintenance easier.
- Creating a Pool Deck or Surround
Building a temporary deck or surround can drastically improve the look of your temporary pool. Materials like wooden pallets, non-slip outdoor carpeting, or interlocking patio tiles can be used to create a stylish and safe poolside area. Not only does this add to the aesthetic appeal, but it also prevents dirt and grass from being tracked into the pool.
- Landscaping Around the Pool
Integrating your pool with the surrounding landscape can transform your backyard into a picturesque retreat. Planting ornamental grasses, flowers, or even small shrubs around the pool area adds colour, texture, and privacy. Consider using potted plants for flexibility; they can be moved around to change the look or to make room when necessary.
- Adding Lighting
Proper lighting can make your temporary pool area look magical at night. Solar-powered lights, waterproof LED strips, and floating pool lights are great options that can enhance safety and create a cosy, ambient atmosphere. Strategically place lights around the pool area to highlight landscaping features or illuminate walkways.
- Incorporating Shade Structures
To ensure your pool area is enjoyable at all hours, consider adding shade structures. Umbrellas, canopies, or even a temporary gazebo can provide much-needed relief from the sun while adding an element of style. Choose colours and materials that complement your overall design theme to create a cohesive look.
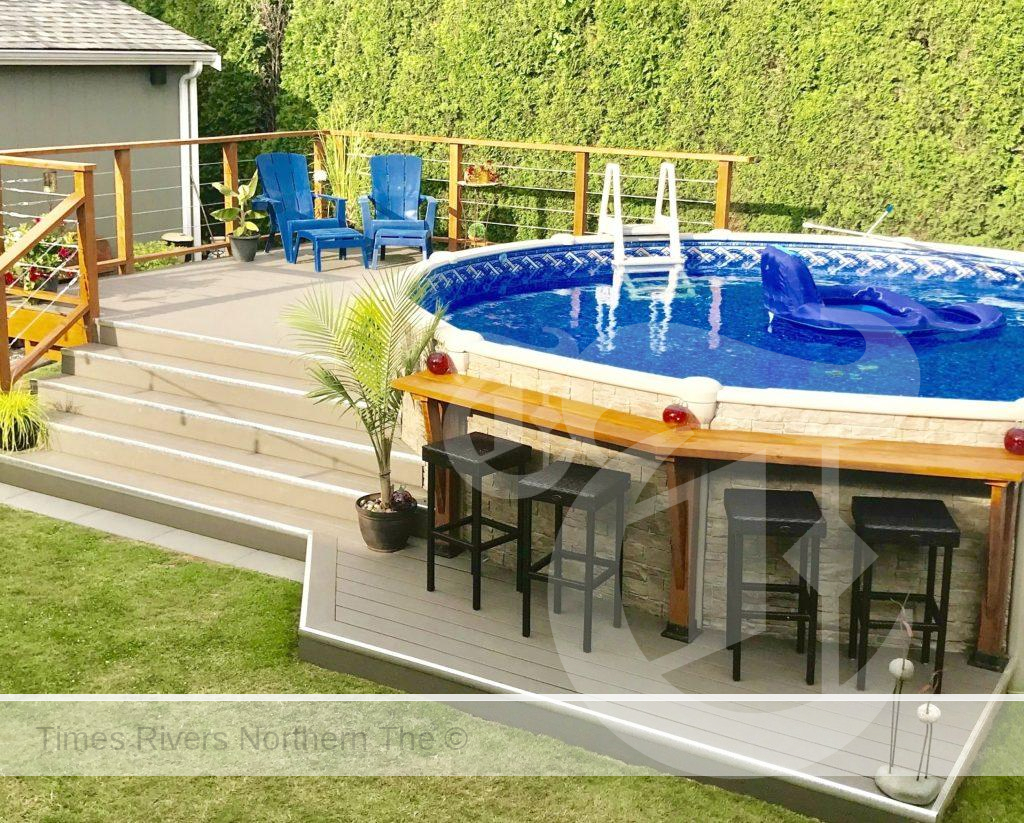
- Accessorising with Outdoor Furniture
Comfortable and stylish outdoor furniture can elevate the look of your temporary pool area. Waterproof loungers, outdoor rugs, and accent tables not only provide convenience but also contribute to the pool’s aesthetic appeal. opt for furniture that matches your style, whether it’s modern, rustic, or tropical, to create an inviting lounge area for relaxation and entertainment.
- Adding Fun and Functional Features
Water features like floating fountains or inflatable slides add a fun element to your pool while enhancing its appearance. Additionally, practical accessories like a pool cover can keep the water clean and also serve as a safety feature.
- Maintaining Water Quality and Clarity
A clean pool is a beautiful pool. Regular maintenance, including vacuuming the bottom, skimming the surface, and maintaining proper chemical levels, is essential to keep the water sparkling and inviting. A well-maintained pool not only looks better but is also healthier and more enjoyable to use.
- Personalising with Decor
Finally, adding personal touches can make your temporary pool area feel unique and welcoming. Outdoor cushions, waterproof bean bags, or even a small outdoor bar can add character and functionality to your poolside space. Decorative elements like pool floats, garden statues, or a mural painted on a surrounding fence can also add a playful or artistic touch.
Get to designing!
Making a temporary pool look good involves a combination of practical and decorative efforts. By carefully selecting the pool’s location, enhancing its surroundings with decking, landscaping, and lighting, and adding personal touches through furniture and decor, you can create a beautiful and enjoyable outdoor living space. Remember, the goal is to create an area that reflects your personal style and meets your relaxation and entertainment needs. With a little creativity and effort, your temporary pool can become the centrepiece of your summer fun.
**PLEASE NOTE: It is important to check with your local council/government to see rules and regulations around pools. It is also important to check with the manufacturer of the pool for recommended procedures regarding function, warranty etc.**
For more gardening news, click here.


Fencing Options for Your Garden
Fencing is an essential aspect of property design and management, providing privacy, security, and aesthetic appeal. In Australia, the diverse range of fencing options caters to various needs, from urban homes to rural properties. This article explores the most popular types of fencing available in Australia, detailing their benefits and applications.
Timber Fencing
Timber fencing remains a classic choice for many Australian homeowners due to its natural appearance and versatility. There are two primary types of timber fencing: paling fences and picket fences.
- Paling Fences are constructed from timber palings and are renowned for their ability to provide excellent privacy and noise reduction. They are a popular choice for backyard fencing, offering a solid barrier that can be painted or stained to match the surrounding landscape. The durability of timber, combined with its natural look, makes paling fences a favourite among those looking to create a private outdoor space.
- Picket Fences are iconic in their design, often associated with quaint, traditional homes. These fences feature evenly spaced vertical boards (pickets) attached to horizontal rails. While they do not provide as much privacy as paling fences, picket fences are prized for their decorative appeal. They are commonly used in front yards to create a charming and welcoming appearance.
Coloubond Fencing
Coloubond fencing has become increasingly popular in recent years due to its durability, low maintenance, and modern aesthetic. Made from steel coated with a durable, weather-resistant finish, Coloubond fences are available in a wide range of colours, allowing homeowners to match their fence to the colour scheme of their property.
One of the significant advantages of Coloubond fencing is its strength. It is resistant to corrosion, fire, and termites, making it an excellent choice for the Australian climate. Additionally, Coloubond fences provide a high level of privacy and security, as they are difficult to climb and create a solid barrier.
Chain Link Fencing
Chain link fencing is a versatile and cost-effective option commonly used for security, sports fields, and animal enclosures. Made from galvanised or coated steel wire, chain link fences are durable and provide good visibility while marking property boundaries.
Although not typically chosen for aesthetic reasons, chain link fencing is valued for its practicality. It is easy to install, requires minimal maintenance, and can be customised with various heights and mesh sizes to suit different applications.
Aluminum Fencing
Aluminium fencing offers a lightweight, rust-resistant alternative to traditional metal fences. Its versatility makes it suitable for both residential and commercial properties. Aluminium fences are available in a variety of styles and colours, allowing for customisation to match the property’s aesthetic.
One of the main benefits of aluminium fencing is its durability. Unlike iron, aluminium does not rust, making it an excellent choice for coastal areas or places with high humidity. Additionally, aluminium fences are easy to maintain, requiring only occasional cleaning to keep them looking their best.
Glass Fencing
Glass fencing is a popular choice for pool areas and patios, offering an unobstructed view and a sleek, modern look. It is available in frameless or semi-frameless designs, both of which provide a high-end finish to outdoor spaces.
The primary advantage of glass fencing is its ability to provide a barrier without blocking the view. This feature makes it ideal for pools, where safety is paramount, but maintaining the visual appeal of the surrounding area is also important. Glass fences are made from toughened safety glass, ensuring they are strong and durable.
Colorbond fencing – Photo by Colorbond
Wrought Iron Fencing
Wrought iron fencing is known for its decorative appeal and strength. Often used for gates and front fences, wrought iron adds a touch of elegance to any property. It can be customised with intricate designs, making it a popular choice for those looking to add a unique, artistic element to their home’s exterior.
Despite its aesthetic appeal, wrought iron fencing requires regular maintenance to prevent rust and keep it looking its best. However, its durability and the sense of grandeur it imparts make it a worthwhile investment for many homeowners.
PVC (Vinyl) Fencing
PVC, or vinyl fencing, is a low-maintenance option that offers a clean, uniform appearance. It is resistant to weathering, insects, and rot, making it a durable choice for various applications. PVC fencing is available in a range of styles, including picket, privacy, and rail fences.
One of the key benefits of PVC fencing is its ease of maintenance. Unlike wood, it does not require painting or staining and can be easily cleaned with soap and water. This makes it an attractive option for those looking for a hassle-free fencing solution.
Bamboo Fencing
Bamboo fencing is an eco-friendly option that provides a natural, tropical look. It is often used for gardens and decorative purposes, creating a unique and aesthetically pleasing barrier. Bamboo is a renewable resource, making it a sustainable choice for environmentally conscious homeowners.
Bamboo fencing is relatively easy to install and can be used to create privacy screens, garden borders, or even as an accent within other types of fencing. Its natural appearance blends well with outdoor environments, adding a touch of nature to any setting.
Rural and Farm Fencing
For rural properties and farms, specific types of fencing are necessary to contain livestock and mark property boundaries. Two common types are post and rail fences and barbed wire fences.
- Post and Rail Fences are traditional rural fences used to contain livestock. They consist of wooden or metal posts with horizontal rails and are valued for their simplicity and effectiveness.
- Barbed Wire Fences are another common choice for rural areas, providing a cost-effective solution for livestock control and security. The barbed wire acts as a deterrent to animals and intruders, making it a practical choice for large properties.
Brushwood Fencing
Brushwood fencing offers a rustic look and excellent soundproofing properties. Made from natural brushwood, this type of fence is often used for privacy and garden fencing. Brushwood fences are durable and blend well with natural surroundings, providing a seamless and organic barrier.
The variety of fencing options available in Australia ensures that there is a suitable choice for every need and preference. Whether prioritising privacy, security, aesthetics, or sustainability, Australian homeowners can find the perfect fence to enhance and protect their property.
For more gardening news, click here.


BROADWATER FERRY

Government adds to cost of living as buybacks begin

Farm Safety Shouldn’t Cost an Arm or a Leg

The annual Bizzy and Jomanda Brahman sale will be held Saturday 7th September 2024, 11am at the Grafton Saleyards.

Biosecurity System Reaps Rewards of Sensible Cost Recovery Reform

Are Your Workers in Safe Hands? The Critical Role of First Aid Training in Agriculture

A NEW TWEED HEADS

Toyota Supra: Get Ready For A Fully Electric Version In 2025

Northern Rivers Local Health District COVID-19 update

Northern Rivers COVID-19 update

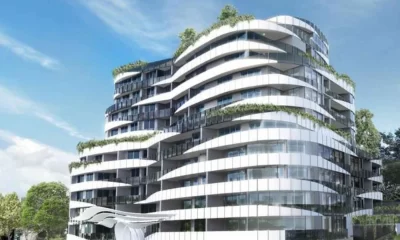
Fears proposed residential tower will ‘obliterate’ Tweed neighbourhood’s amenity and charm

COVID-19 Vaccination Clinic now open at Lismore Square


Two teens charged with property offences in Tamworth and Hunterview – Operation Regional Mongoose
Two teens charged with property offences in Tamworth and Hunterview – Operation Regional Mongoose Thursday, 25 July 2024 01:34:07 PM...
Two men arrested following Bondi police operation and pursuit
Two men arrested following Bondi police operation and pursuit Thursday, 25 July 2024 01:31:18 PM Two men have been arrested...
Man charged following incident at Miranda shopping centre – CTST Command
Man charged following incident at Miranda shopping centre – CTST Command Thursday, 25 July 2024 12:21:33 PM A man has...
-
 Tweed Shire News2 years ago
A NEW TWEED HEADS
-
 Motoring News1 year ago
Toyota Supra: Get Ready For A Fully Electric Version In 2025
-
 COVID-19 Northern Rivers News3 years ago
Northern Rivers Local Health District COVID-19 update
-
 COVID-19 Northern Rivers News3 years ago
Northern Rivers COVID-19 update
-
 Northern Rivers Local News3 years ago
Fears proposed residential tower will ‘obliterate’ Tweed neighbourhood’s amenity and charm
-
 Health News3 years ago
COVID-19 Vaccination Clinic now open at Lismore Square
-

 COVID-19 Northern Rivers News3 years ago
Lismore Family Medical Practice employee close contact
-

 NSW Breaking News3 years ago
Vale: Former NSW prison boss Ron Woodham